Make Almond Milk in 5 Easy Steps
karla rodas
Yes, you too can milk an almond even though it doesn’t have nipples or teats.
I was inspired to make my own batch of almond milk because of the desire to control what I put into my body.
I want to have the ultimate say on what I’m nourishing myself and my family with and I want the very best quality, as close to the source, ingredients. I’ve been thinking about making my own milk but couldn’t make the commitment to do it, instead opting for the store bought version. It’s easier and more convenient, I’d tell myself.
But, that can be said about most of the junk that we choose to ingest, right? No more! I had finally purchased some genuine, raw almonds from a local farm that was giving all kinds of free samples at the farmer’s market. What really pushed me to take the next step was a friend of mine, Diana, who texted me out of the blue and asked, “Hey, have you ever thought of making almond milk?” I had been looking at my beautiful, untouched almonds in the Mason jar and said, “Yup. I’m gonna soak them right now.”
After an extensive Google search which led me to countless articles and videos, I came across the hilarious article by René Cousineau on elephant, “How in the Hell Do You Milk An Almond?” that was written in response to an article debunking our previous ideas about drinking cow’s milk.
Very informative stuff and I learned that when making any nut milk, all nuts are not created equal, so do your homework and make sure that they come from your local farmer because all others sold at stores, even labeled “raw,” go through different pasteurization processes including, “steam treatment, high heat (dry or oil) roasting, blanching and toxic fumigation with propylene oxide (PPO), a highly toxic chemical that poses severe risks to human health.”
Back to my almond milk making experiment. I felt like a mad chemist, me, my raw almonds, Vitamix, cheese cloth, strainer, glass jars and my laptop. Set yourself up for success and have everything handy. Here’s what you’ll need for the base recipe:
1 cup of Raw Organic Almonds (ask at your local farmer’s market or look online)
3-4 cups of H2O for soaking
3-4 cups of Filtered H2O for blending
A Vitamix or other high-powered blender
A glass bowl or container for soaking
Another or the same rinsed out glass bowl or measuring cup for straining
A wire mesh strainer to put over the bowl or measuring cup
Cheesecloth or nut milk bag (they sell these online)
Glass jar for storing your homemade milk
Optional Ingredients:
A pinch of Sea Salt
A splash of Vanilla
Sweeteners: Maple Syrup or date syrup
Step 1:
I started off with three cups of almonds just because that’s about what I had left from my supply.
It’s about a 1:3 ratio of nuts to water for soaking (this water will later be discarded). Like a dork, I was so excited that I used my good filtered water to soak. Oh well. Some sources recommend less water for a creamier consistency, but I was happy with my result. Put the almonds in their water bath, preferably in a glass container and let it sit in a cool, dry place overnight.
Step 2:
In the morning I checked on my almonds and that the soaking water had a milky, cloudy look. This is what you want. I strained the almonds over the sink and gave them a rinse.
This soaking process allows the nuts to break down the phytic acid, which reduces your ability to absorb minerals during digestion. This will help your body take in the max benefits of calcium, magnesium, iron and zinc that the almonds contain.
Step 3:
Now, add quality filtered water and the almonds into your blender, (my blender of choice is the Vitamix). Remember the 1:3 ratio for thinner milk or use slightly less water for a creamier consistency.
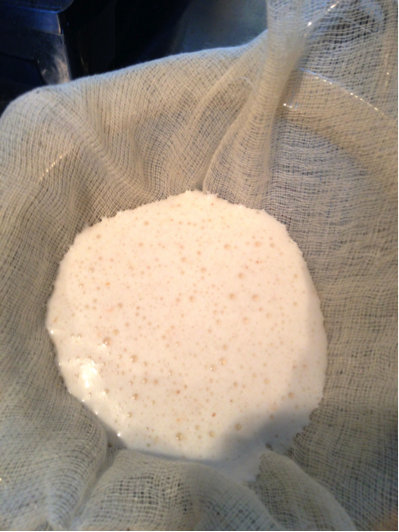
Blend it up until it comes together and becomes smooth. With my beast of a Vitamix this happened pretty quickly.


